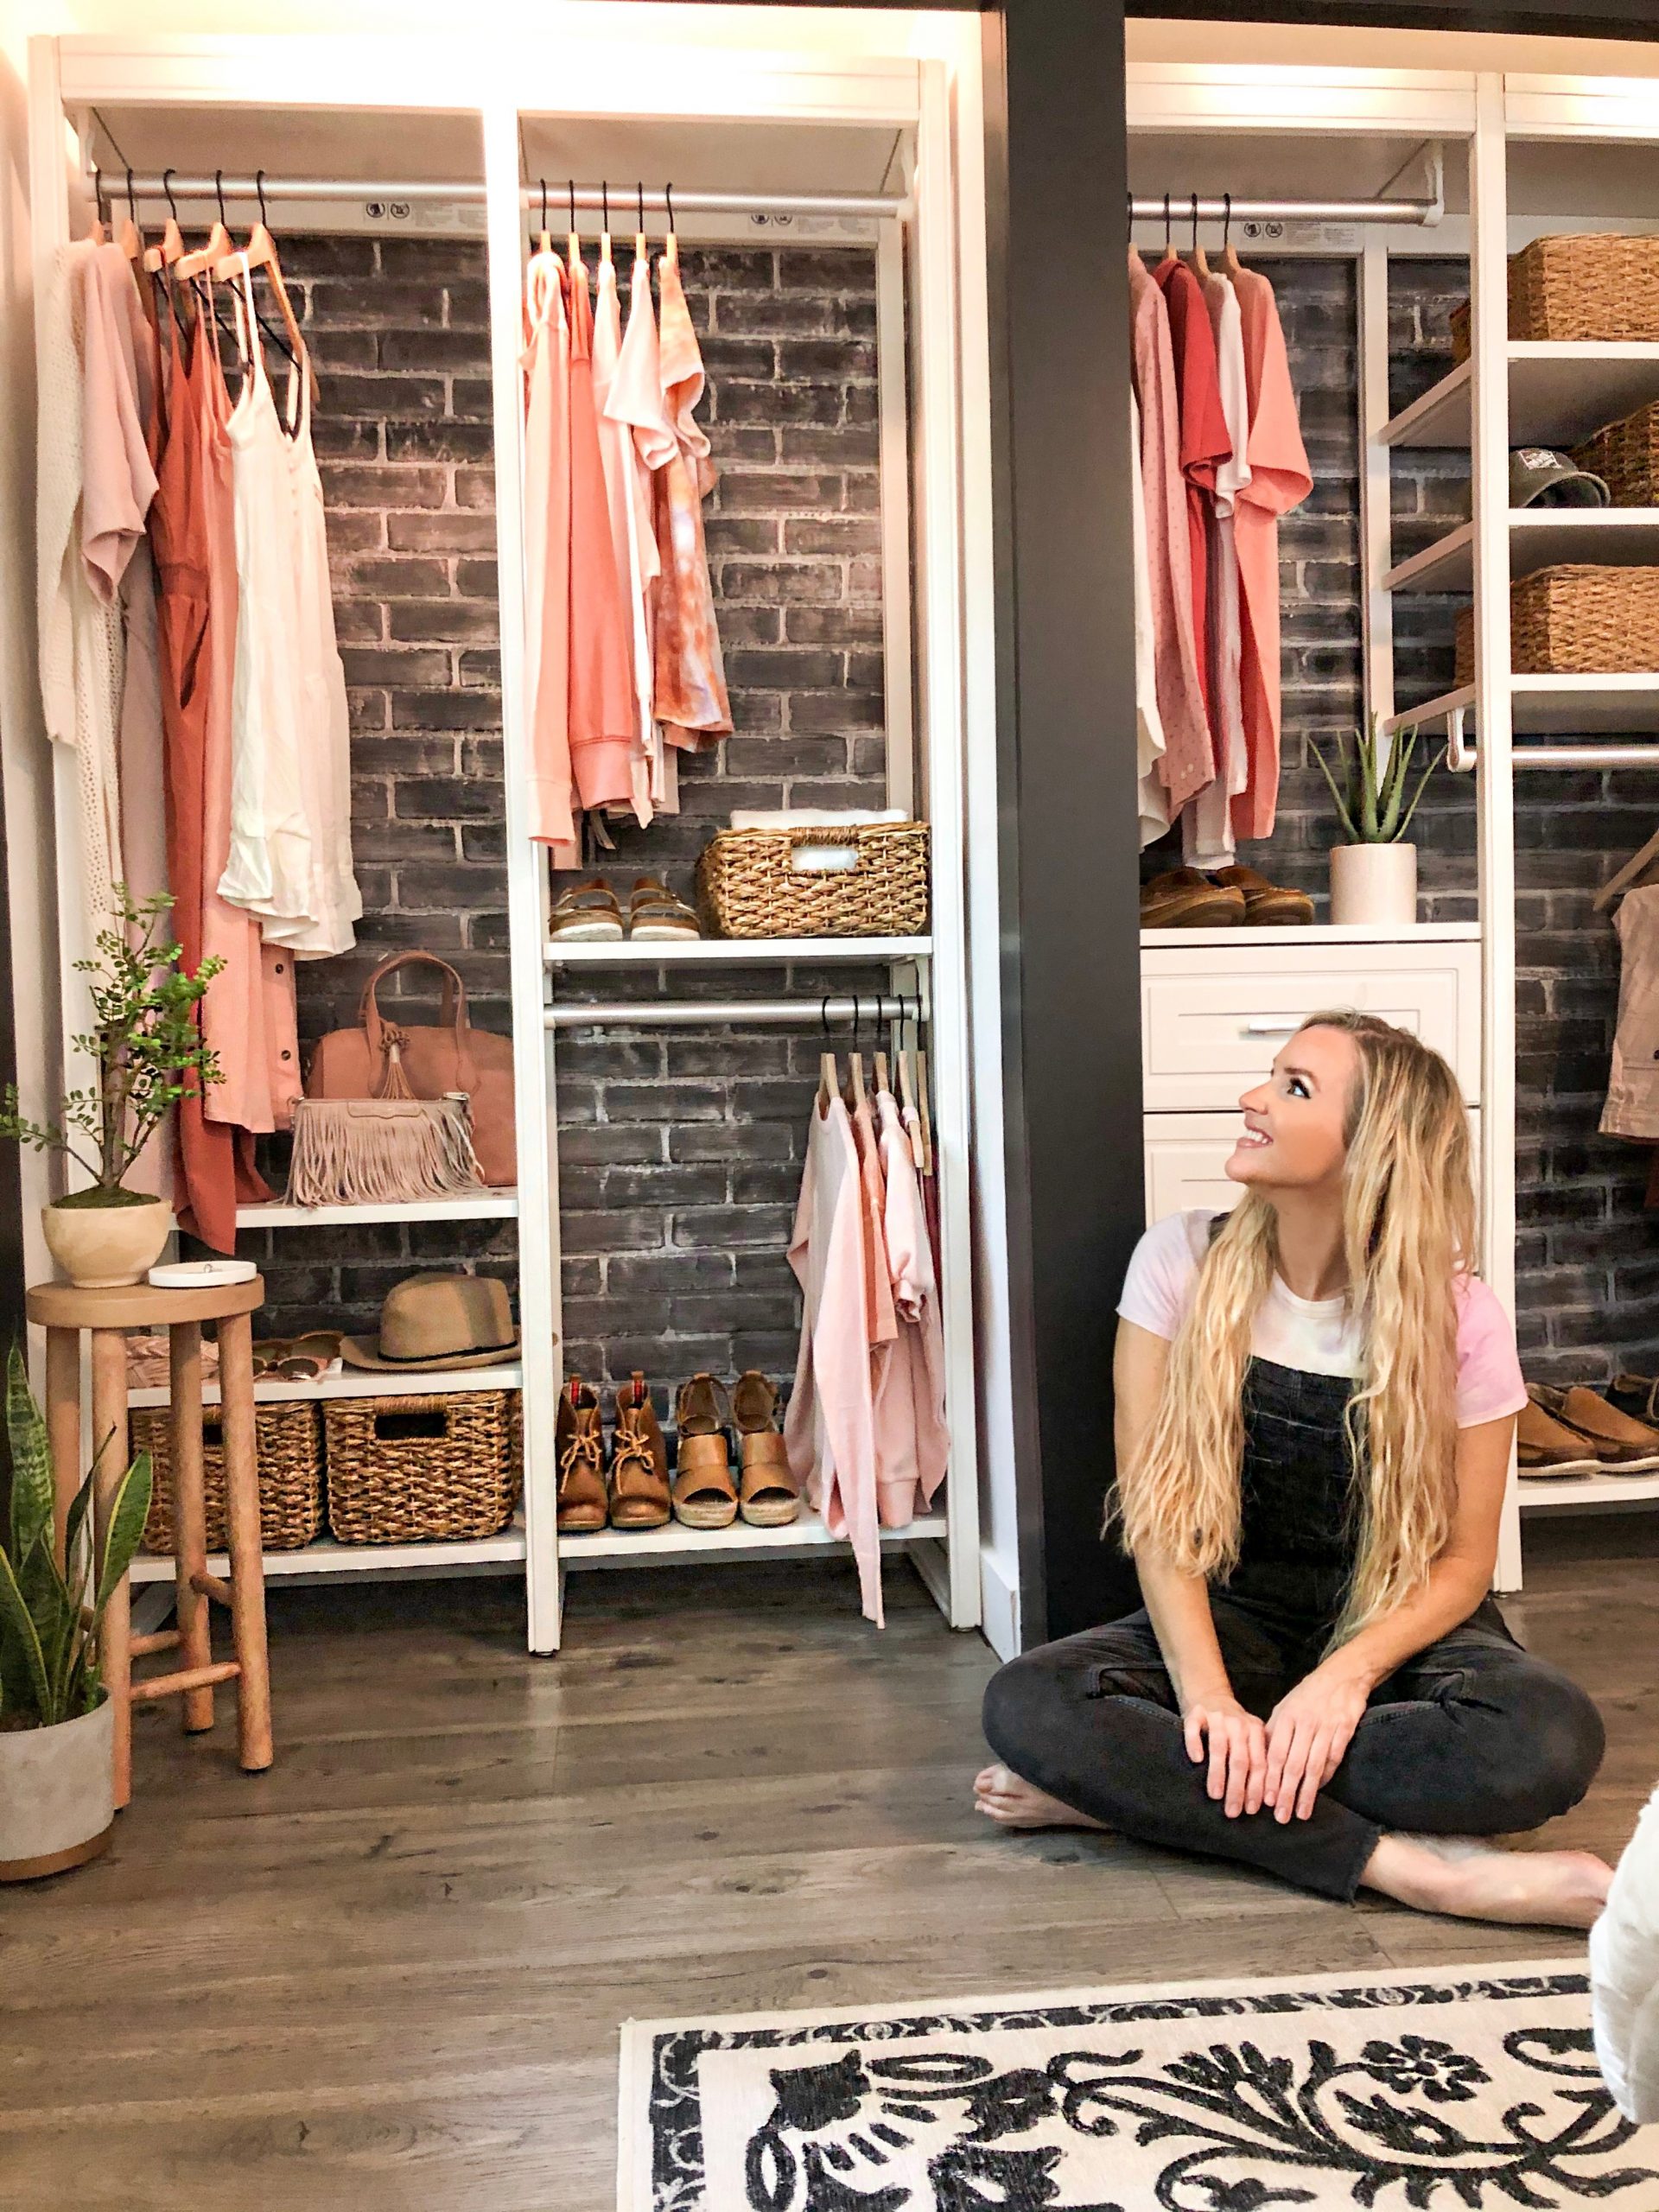
Closets by Liberty Upgrade

Alright, who is ready for a closet upgrade? As many of you know by now, I have been trying to bring our very first home out of the 1970’s and into a more modern upgraded look. Our closets are no exception! My dream of having a giant walk-in closet to store all my clothes just isn’t an option for this home. That doesn’t mean I can’t make it much more functional, organized and of course beautiful. I chose to use Closets by Liberty to achieve this look and I was not disappointed by this choice!!!

Let’s start with some before photos. Those always really help show how far we have come. I have two closets in my master bedroom…one for myself and one for my husband. Both closets, obviously need so much help! They both have the standard wire closet systems, which are not very sturdy and don’t provide a lot of storage options. The sliding doors for these closets also restrict the size of this space.


I chose the Closets by Liberty for several reasons:
First, the closet systems came in a variety of sizes. Which was perfect for my space, since I had two different spaces to fill. I went with the 4′ closet system for each of my closet spaces, but they also come in 6′, 8′, 10′ and you can always add on if necessary.
Second, I loved that the closets looked custom. I didn’t have to do a ton, well actually I didn’t have to do any building to make the closet. No giant hauls to the lumber store, saws, pocket holes…all the things that come with building a custom closet. I only needed a few basic tools to put it all together.
Third, I absolutely loved that the spaces were changeable. I made my closet different than my husbands because we both needed different storage systems. I needed more hanging storage, while he wanted more drawers and shelves. Umm…so we ALL win.


Like I said, I only needed a few basic tools to get this system up and rocking. The hardest part about this whole project was picking a color for my back accent wall..LOL!


To assemble the closet system, first I had to put the main towers together. Once they were assembled, I loved that they were made to attach to the walls with stabilizer bars. Making them, of course safe and sturdy. For more detail information about the installation process, you can refer to Closets by Liberty’s installation page.

After the towers were built, then came all the fun stuff. Well, at least I find it fun 


So excited about my amazing new closet space…Don’t forget to keep following along! Of course, I still have a few more big plans for this space…hint it might include a new door makeover. I’m also going to reassess this space in about a month and show you how I might need to add different features such as new shelves or drawers. We might even need to switch out this clothing color palette.
Here are links to each of my specific Liberty Hardware Closets. Left side – 4 Foot extra shelving system. Right side – 4 foot Traditional with drawers.
Jessie


Denise Kainrath | 12th Aug 20
This turned out incredibly! I’m having serious closet envy!