DIY Quikrete Concrete Lamp

Hey guys! Anyone super intimated by the thought of using concrete? I totally get that…I was beyond intimated just a few weeks ago and now it is turning into one of my favorite products to use for DIY-ing! Quikrete Concrete challenged anyone who is attending the Haven Conference (a DIY bloggers convention) to do a project using one bag or less of their concrete for the chance to win a 10,000 dollar sponsorship. If you don’t know it by now…I am always up for a challenge!
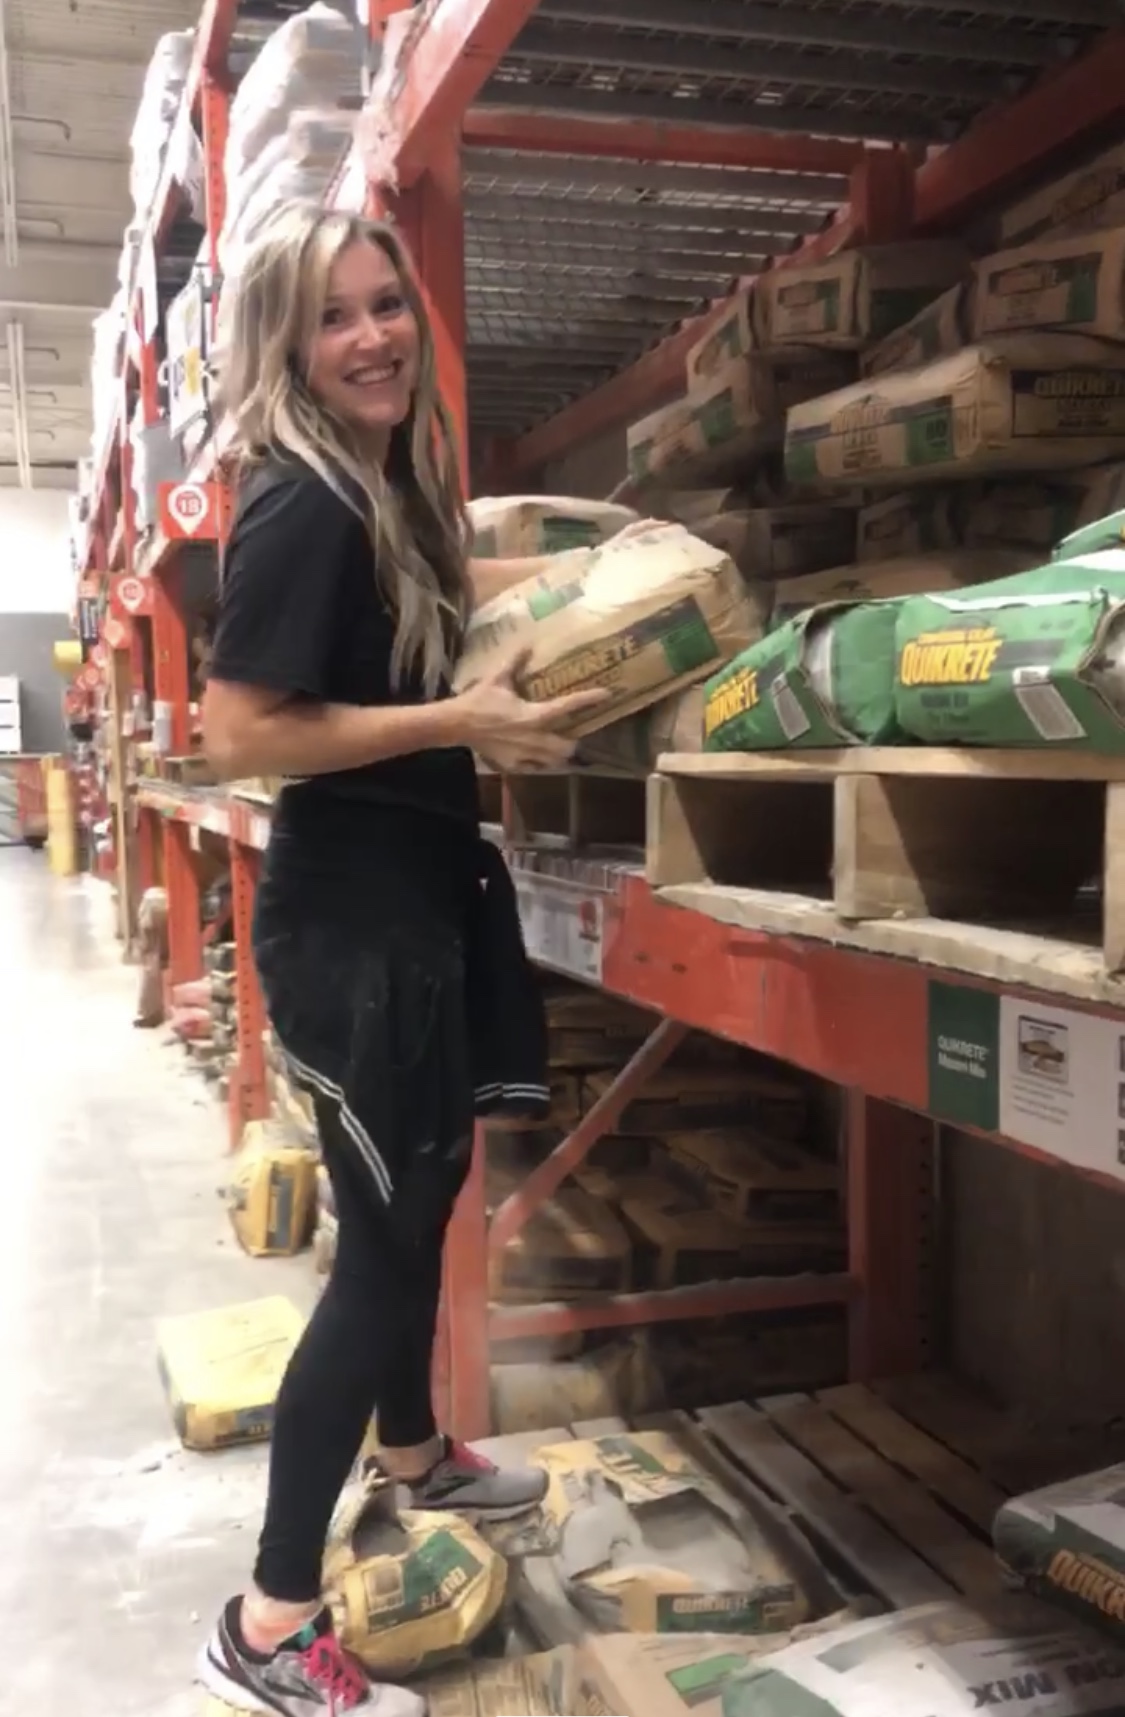
The best part of this challenge is concrete is totally on trend right now and is popping up all over the place. This trend is so easy to incorporate into your own home and if you don’t want to buy something, guess what you can make it. I promise using concrete is so so easy! I honestly think the hardest part of using concrete was carrying the 80lb bags. Can you say working on my summer body over here! ;). The possibilites really are endless when it comes to concrete. Did you know there are so many different types of concrete as well? Oh, I have learned so much the last few weeks and I am all ready to share.
I ended up making a few different projects while trying to find the perfect one to submit to Quikrete. While racking my brain, I had a few things I was considering. My inspiration was a project that would be low in cost, the supplies easily found around the house and something everyone thought they could tackle, but also completely useable. I decided to make a DIY Concrete Lamp, using a lamp I found at the thrift store for $5. We all have things that are dated around our home and what better way to get a completely new look then by giving it a facelift. This project was so easy and really made an amazing transformation.
DIY Quikrete Concrete Lamp
Supplies:
- Bag of Quikrete Stucco Concrete
- Water
- Rubber Gloves & Dust Mask
- Mixing Container & Utensil (wooden dowel, shovel, spoon ect. )
- Trowel
- Old Lamp
Directions:
Step 1:
Make sure you are completely set up and have everything you need handy. Start by mixing up your concrete, first add your Quikrete into your bucket. Slowly start pouring water into the bucket and begin mixing. You want your concrete to be a nice consistency, it should be more like a cookie batter consistency not a pancake batter consistency. If your concrete is too thin add more powder, too chunky add more water.
Step 2:
Once your concrete is mixed and ready to go, make sure your lamp is clean and completely dry. I found my lamp at the thrift store for $5. When choosing a lamp really think about the shape and will it work with a concrete overlay. Start scooping your concrete out of the bucket with your trowel and plastering it onto your lamp. Apply pressure while attaching it to the lamp. I did thin layers so the concrete wouldn’t slip down. Get your hands dirty as well, or at least your gloves. Apply pressure around the lamp with your hands allowing the concrete to adhere to the outside of the lamp.
Step 3:
Once all the concrete was laid against the outside of the lamp, I went back through and around the edges, smoothing all the surfaces with my trowel. This was the most time consuming part. I wanted it to be a clean, smooth modern finish when I was all done.
Step 4:
I allowed the concrete to dry for about an hour and then went back over all the surfaces with a wet paint brush. Using a wide paint brush, dip the end into the water and then remove the excessive water with a towel. Do long strokes up and down the lamp, completely smoothing the concrete surface and blending all the concrete. I wanted it to have a nice cloudy gray finish.
Step 5:
When the concrete was the perfect texture I allowed it to sit and dry for 20 hours before touching it. When it was complete dry I went back over it with my orbit sander smoothing all the surfaces one last time.
Step 6:
That’s it! I added a new lamp shade, light bulb and plugged it in. Fresh new modern lamp completely on trend for less than $10.
We’d love to see your finished project. Just comment below and be sure to check out our Facebook page and Instagram as well.
Happy DIY-ing!
Just a note, I am a not professionals and do not claim to be an expert. Please make sure to always read instructions for all tools and products. Safety is very important and should be the top priority. Wear necessary protection when using tools (eye, ear, etc.) and dust masks when sanding or cutting. Eye in the detail is not responsible for any injury or damage.
If you require any more information or have any questions about our site’s disclaimer, please feel free to contact us by email at eyeinthedetailb@gmail.com.


