One Room Challenge – Final Reveal – DIYers Dream Workspace

Super, SUPER excited that today is the day I finally get to share with you the BIG reveal for my Modern DIYers Workspace. I am not going to lie the last 6 weeks has not been easy and I literally worked up until the last day finishing up this space. 6 week sounds so long but when reality hits and the projects start the time just flies right by. So…here it is…A fresh look on a DIYers Workspace. I couldn’t be happier with how it turned out. It’s functional, chic, modern, and colorful…all the good stuff packed into one space and guess what…It’s all mine. I have the most beautiful space to work in, a place where creativity can absolutely thrive.
As always, it is so inspiring to see all the other guest participants designs and of course the featured designers, as well. Be sure to have a look on the One Room Challenge (ORC) Blog site to see all the amazing projects going on.
BEFORE
Just in case you forgot, because I sure did after looking at this new space, but here is a look back at the space before the One Room Challenge. Tragic I know!!! It really is so amazing how hard-work and creativity can transform any space into something so magical. So, this room is our 5th bedroom on the main level floor of our home. It absolutely wasn’t serving any kind of purpose except for a drop spot for any and anything that we wanted hidden and out of the way. It was always intended to be my workspace, but because of the lack of storage space and origination it didn’t stay functional for long.
Week 1 | Week 2 | Week 3 | Week 4 | Week 5
Come on in and enjoy my new space! It’s like night and day from the beginning.
So…lets talk about the new space and everything that happened over the course of 6 weeks. I added a light fixture and hardwired the room. It was so so dark in this space that I had several lamps in here that the previous owners had left through out the home because the entire house had no lighting ANYWHERE! So this was the lamp drop off spot when all the lighting was added to the rest of the house. I painted the entire space, walls and ceiling and removed that amazing blue carpet and added wide plank flooring to the room. These where my first few steps and they made a huge impact instantly. It was so bright and fresh, even without anything in it.
The ceiling was next, this is by far one of my favorite parts of the room. Instead of an accent wall, I went with a accent ceiling and I couldn’t be happier with the way it turned out. The ceiling is watercolor florals. I originally thought when I ordered them that it was wallpaper and to my surprise it was actually decals. What…who knew! So I painted the ceiling a tint of green to blend them all together.
This is a Vintage Nesting Chicken Coop, it’s one of my favorite finds and I thought it would be the perfect add to this room. Totally an unexpected element that adds so much to this space. Seriously, though if you could have seen the farmers face that I bought it from when I told him I didn’t have any chickens and it was going to be inside my home. The horror….Bwahhhhh…so amazing!
So perfectly styled with all my stem florals. I actually had all of these florals already, kinda embarrassing. I switch my florals in my home out all the time for all the seasons. Also, I use them for all my wreaths and to style other peoples home. So, I’m so excited that they have a beautiful home. 
I had to add this little cutie to my photo shoot. He’s the best!!! He would have sat there forever…so funny!!
If you watched my Week One video, you would have seen that this embroidery work was done by my Grandmother, Mimi. I found it in her stuff that she left me and instantly feel in love with it and the colors in it were my inspiration for color palette for my room. I stitched in into one of my favorite metal hoops and added the wreath florals around it. It’s perfect for this space, because she taught me everything I know about being creative. I love that a little piece of her is watching over me while I do all the things she loved. It couldn’t be in a better space!!
I made this Barn Door, which is so Barn modern and perfect for the space. If you would like to make your own Barn Door you can find the tutorial here. For this barn door, I spray painted all my hardware Gold to match my light fixture.
If you follow us on Instagram @eyeinthedetail … you would have seen all my stories and got to follow along with all the step-by-step progress as I went along. I got to use almost every single tool I own in creating this room.
https://www.instagram.com/p/BxIIb8zgCuO/
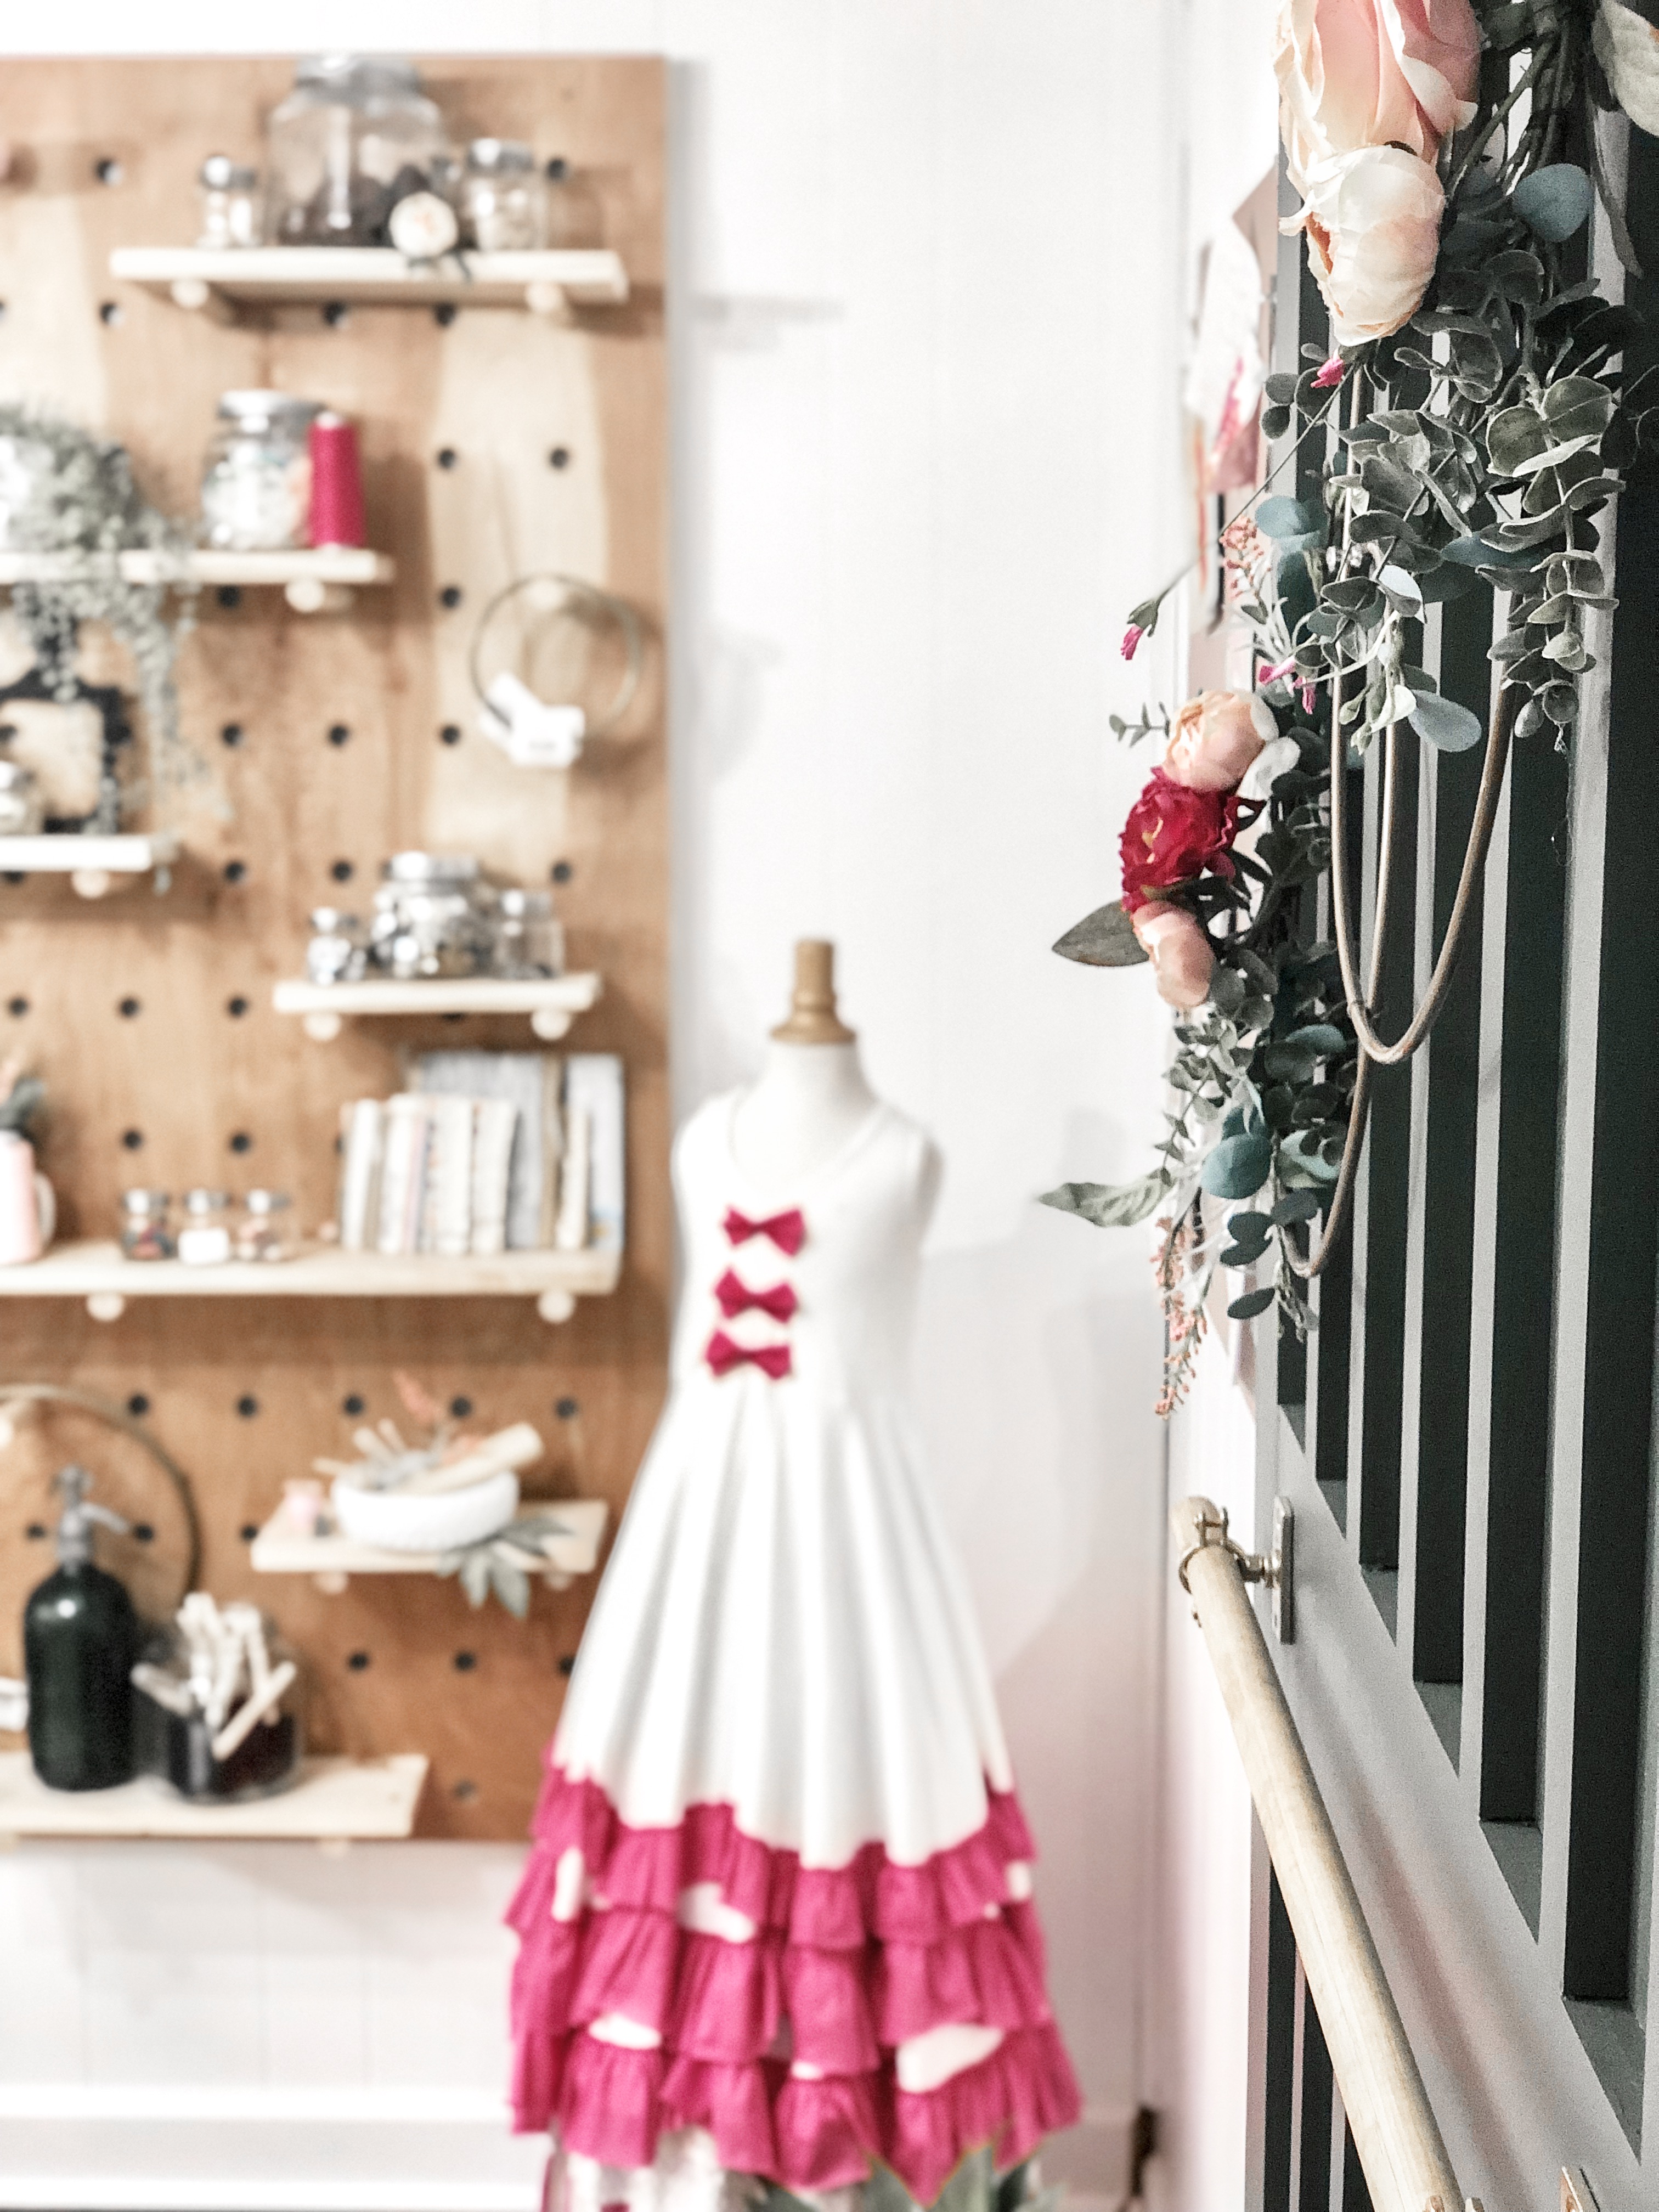
My DIY Pegboards were in Week 5’s Blog Post. These big guys really add so much to the space as well. Along with so much organizational space. I got all these glass jars from Hobby Lobby to store all my craft supplies.
This desk is also, one of my favorite adds to the room. It is so functional for me, I have three separate work spaces. Sewing, computer and Cricut. This was by far the hardest part of the room and I called in a little help for this space. I have the most amazing Contractor, who has actually turned into a great friend and teacher for me. The two of us worked on this project until 3am, 2 nights before the deadline. He told me I’m a real contractor now because I was pushing my deadline. Although, he was really still the one who pushed my deadline date…lol! He taught me how to use so many tools while making this project. So I have so many new projects in mind now. We built out the cabinet space and added three 1 X 10 boards.
For my chairs, I actually had a set of three chairs in my garage. I got them for $5…winning! I painted them all pink with my sprayer and added white fur fabric to add some texture to them. They are so cute and comfy!!! All my kids think this is their space now because there is three chairs. HA…get outta my room children!! 😉
A few last minute details I added, were these super cute DIY Hoop Planters. I used my favorite gold hoops to tie everything together. I even am trying to use real plants in this space. Yikes…lets see how this turns out for me, or should I say the plants. 😉
That’s it guys! Whew…I made it! I feel like I should get a Participation T-shirt, that says “I survived the ORC”. LOL!!! I can’t thank everyone enough for all the love, support and following along in this adventure! It has been fun and I am going to try to rest now, or at least for a day. I, of course, already have big plans for my next project. I never learn, totally a glutton for punishment.
There are so many DIY’s in this room. So if you see something you LOVE and what to know how to do it, leave a comment below and I will start doing some Blog Post with Tutorials.
Related Products:
This post contains affiliate links. As always, all opinions are our own. Shopping affiliated links helps support our small brand at no additional cost to you, we appreciate the love. For more information, please see our privacy policy. Thank you!


Libbie | 11th May 19
What a great transformation! It’s a beautiful space to work. I think my favorite are those pegboard shelves.
admin | 13th May 19
Thank you so much!! It’s a great space to work in! I absolutely love those pegboards too, beautiful and functional! 😉
Rita maddox | 12th May 19
Awesome space!
admin | 13th May 19
Thank you so much! You are too sweet!
Lindsey @hilltown_house | 13th May 19
I think that just cleaning out that space could count as a challenge in itself! This turned out so great – definitely a dream workspace!
admin | 23rd May 19
Thanks so much girl!!! Cleaning was the worst…lol! I love your room so much too!!