Well, just like that week 1 and 2 of the One Room Challenge are behind us!! If you missed our first and second blog post of the challenge, check it out here for week one and here for week two.
It was so inspiring to see all the other guest participants designs and of course the featured designers, as well. Be sure to have a look on the One Room Challenge (ORC) Blog site to see all the amazing projects going on.
Well, we made it through week one of the One Room Challenge!! If you missed our first post of the challenge, check it out here.
It was so inspiring to see all the other guest participants designs and of course the featured designers, as well. Be sure to have a look on the One Room Challenge (ORC) Blog site to see all the amazing projects going on the next 5 weeks.
Super Exciting…our blog has been up and going now for six months, so we thought it was a perfect time to kick things to the next level or at least try! 😉 We are so excited to try something new and have joined the One Room Challenge (ORC) as guest participants for the first time.
For the Challenge, we have six weeks to completely transform a space. Every Thursday for the following six weeks we will share the progress we have made and all the trials we have had to over come to finish a space in a 6 week period. Deciding on which space was the biggest debate; bathroom, laundry room, outdoor living space…so many options!
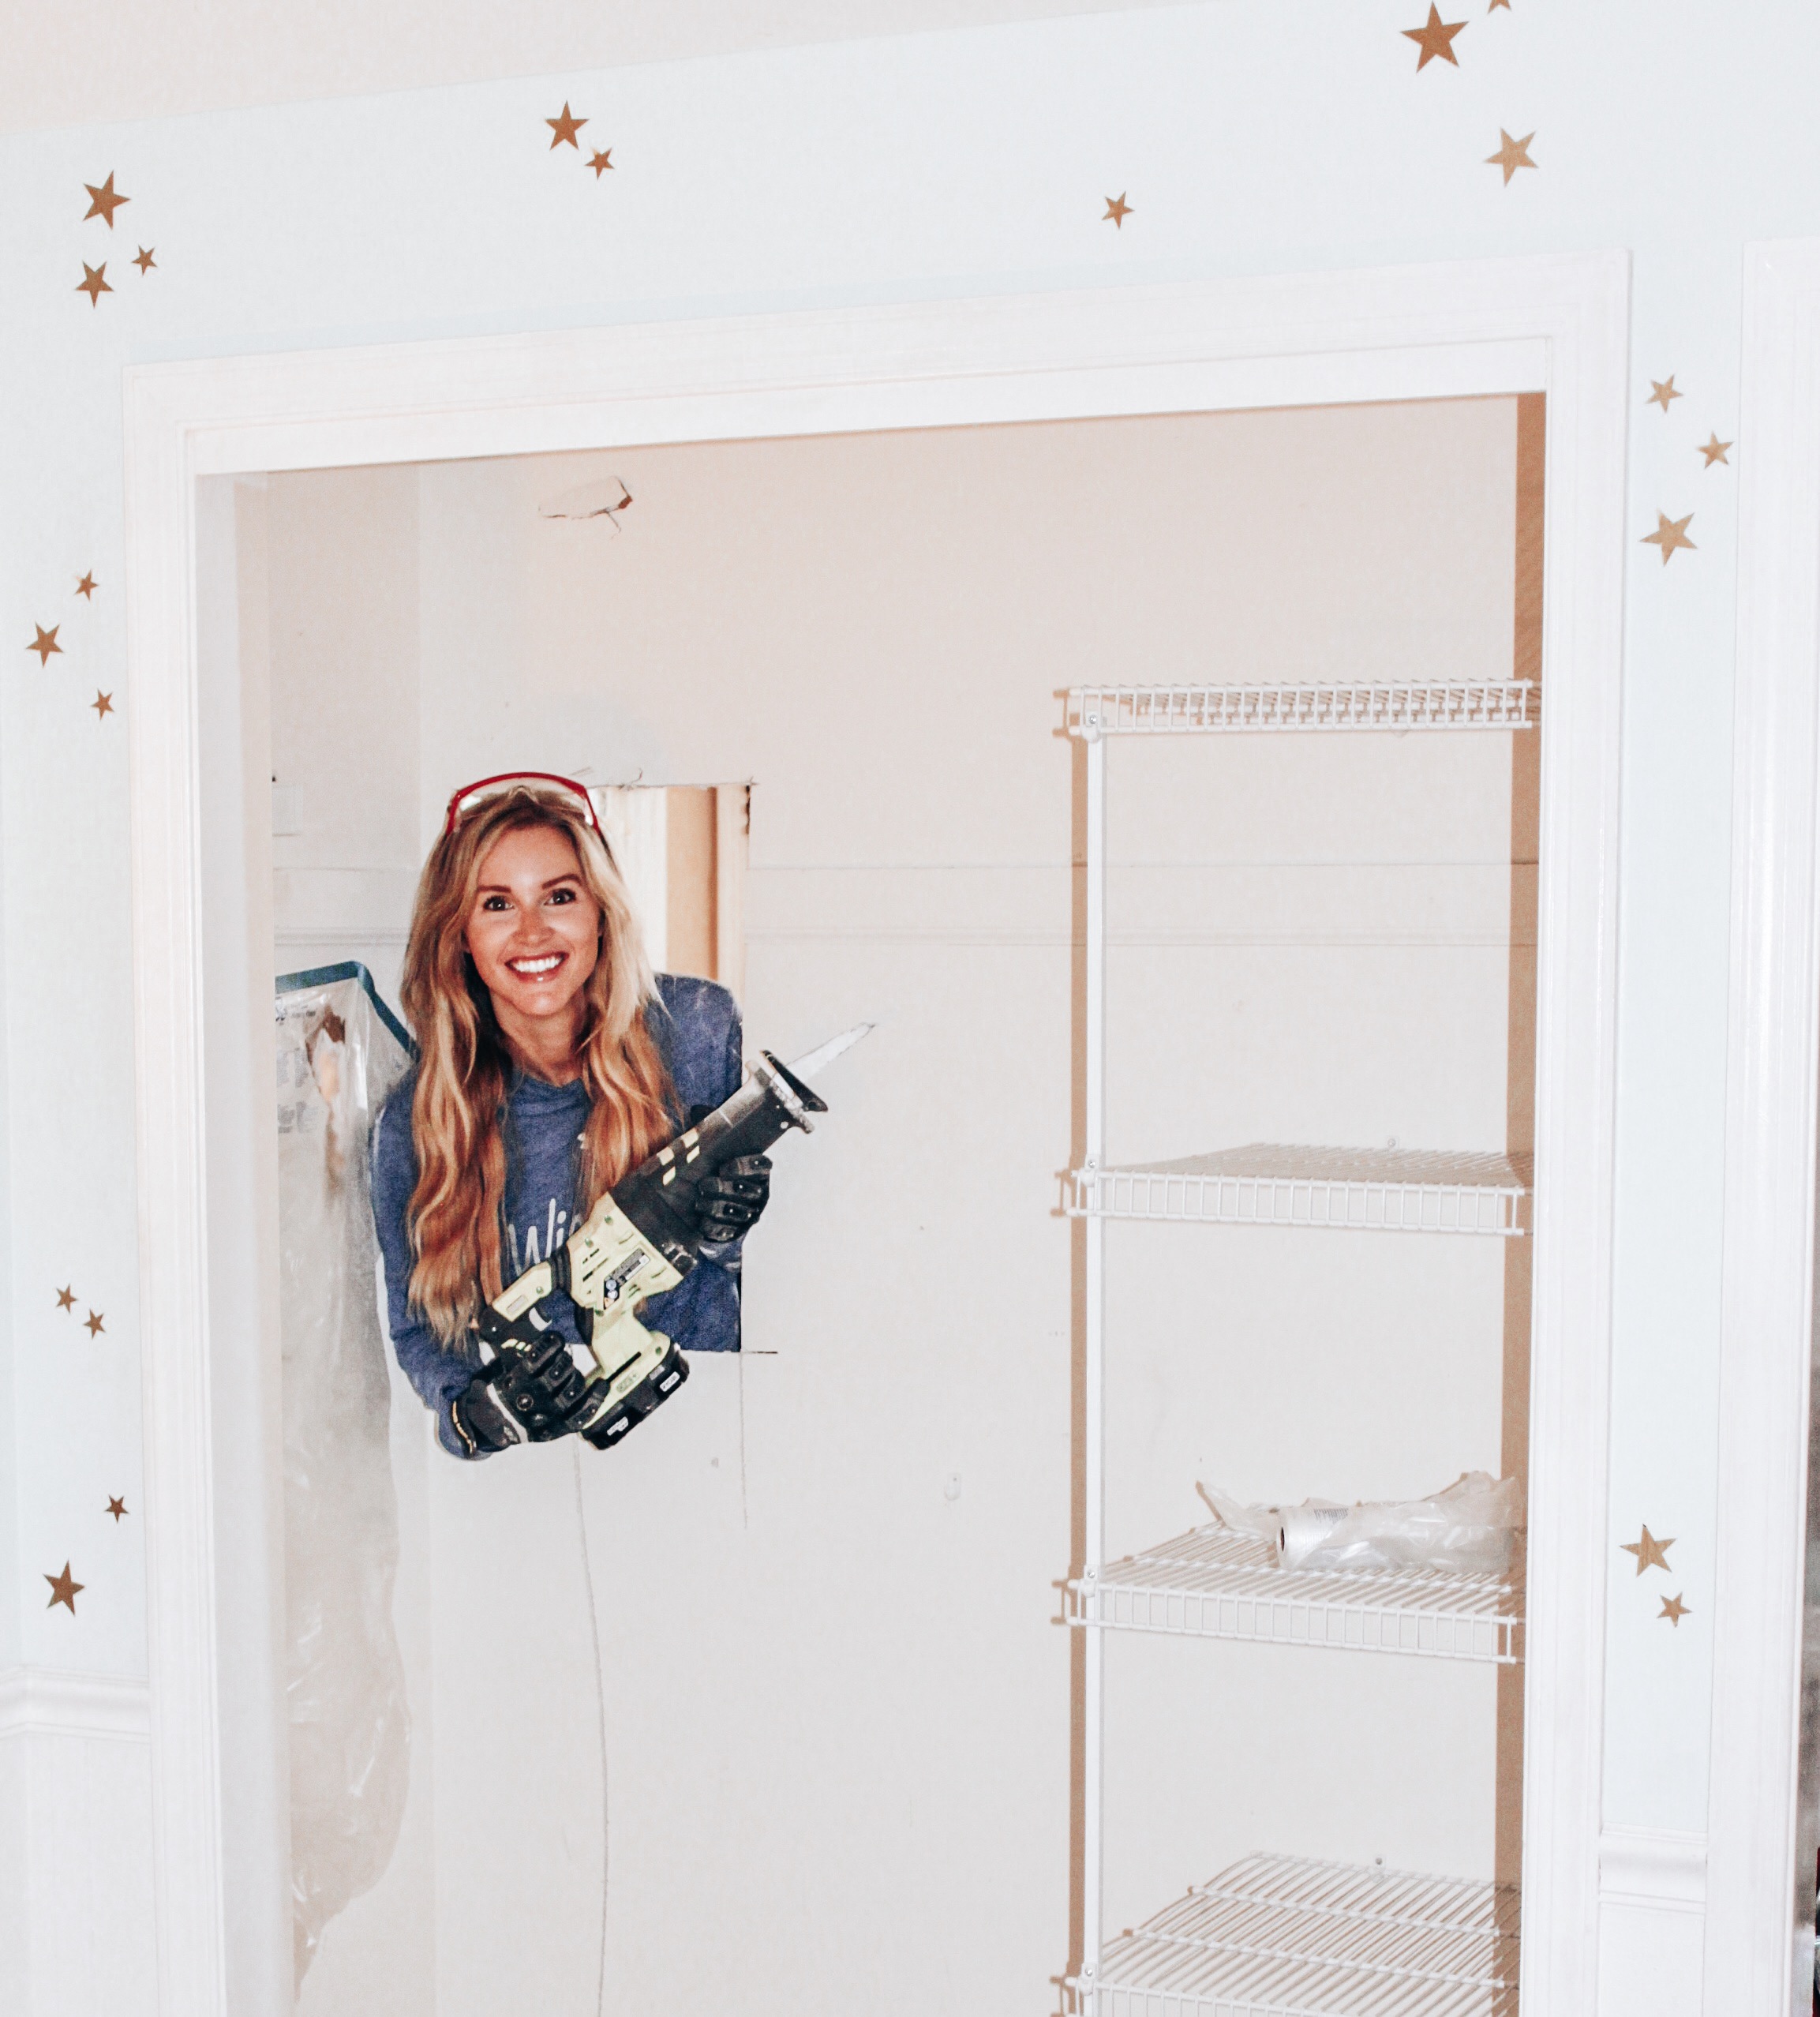
In the end I have decided to transform my 5th bedroom from a crazy hoarders closet into a magical workspace. Like always, I will be doing all the DIY’s myself. I have big plans for this little space…accent wall with DIY Peg Boards, wallpaper, new flooring, new light fixture, built-in desk, tons of storage and lots and lots of painting. We hope you following along on instagram @eyeinthedetail. Now wish us luck and let’s bang this room out!!
Well, it has been almost two months since I started my KonMari journey. And it has most definitely been a journey…filled with lots of trash, recycles and so much organizing. All we have left is the garage, and maybe some photo keepsakes. I fully blame my husband and the fact that it is just plain cold outside in the winter to be organizing a garage as to why we haven’t gotten to that part of the house. The photos, well that is all me, they are so distracting and then I get so sad my kids are so grown up!!
Can you believe it?? Spring is here…and we all survived another Winter, some of us better then others! 😉 So, let’s finally let Spring into our homes. Nothing is better than opening up those windows and letting the fresh air and light into our homes. This year for Spring, I am trying to keep it light and airy in my decor. Lots of neutrals and greenery everywhere!
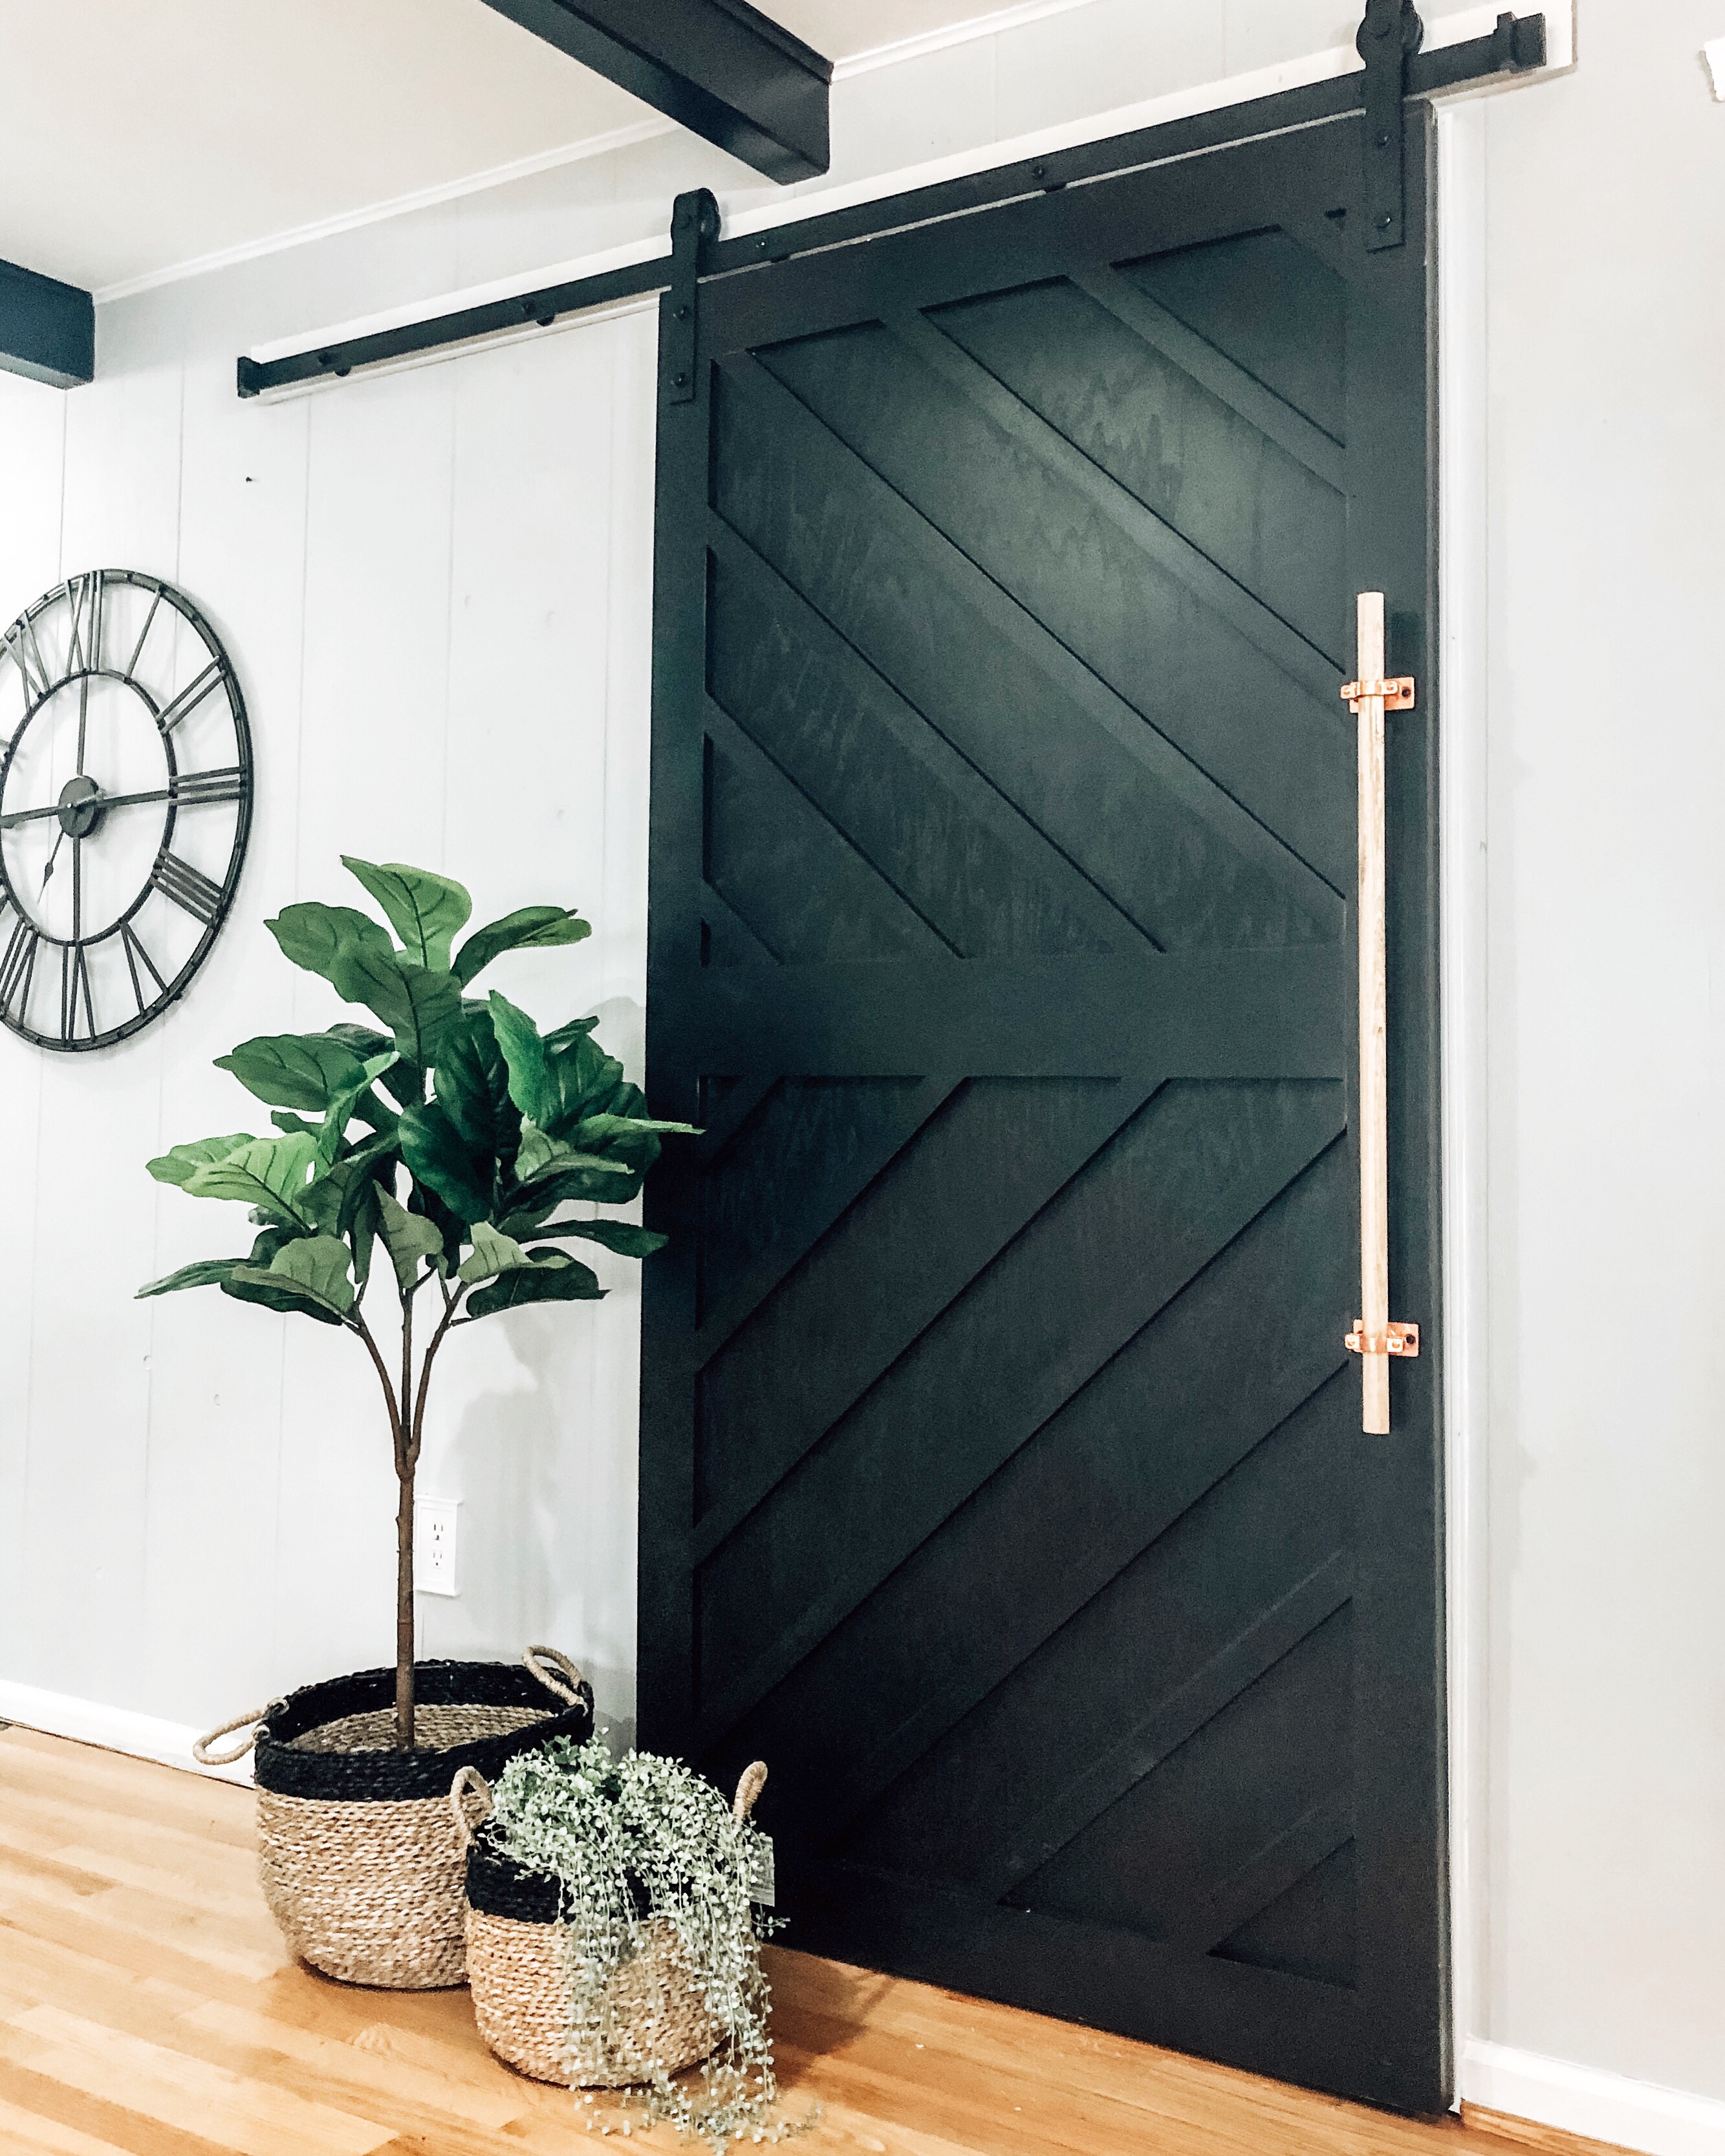
Today I’m going to share with you my DIY Barn Door for under $75! If you have been following along you would know that I am trying to redo my whole house, one room at a time. This door is the final thing to finish off my sitting-room. When we moved in the door going into the basement opened into our main living space. Originally, I took the doors off the hinges for the movers on our moving day because it kept getting in the way. Once it was off, I knew it was never going back on. A Barn Door would be the best option for that space. I kept looking at them and all I could see was dollar signs, which don’t really bother me, but they sure do bother my hubby…hehe! A DIY Barn Door seemed like the obvious choice!

